
I happen to believe that every day is historic but, like Juliette, we are indeed living through historic times in our country — right now!
Juliette recognized the importance of her first-hand observations and recorded her thoughts, events and notes about the people she met and those around her to be able to share her story with future generations.
It is never too early to start recording your thoughts in a journal. It can be via a digital document, selfies and video recordings, or a written journal.
As Juliette’s mother-in-law instructed her in the 1800’s:
“…My child, write these things down as I tell them to you. Hereafter our children, and even strangers, will feel interested in hearing the story of our early lives…”
And I say the same to you today!
Here is a link to a simple and creative craft project to make your own writing journal. See below for details.
Try it yourself or share this activity with a young friend!
DIY Journal with Twig Binding
Excerpted from The Magnifying Glass – Annie 2011/03 blog
This journal is incredibly basic and easy to put together, using simple materials from around the house.
Using the rubberband rather than something more permanent, such as stitching or adhesive, means that the journal can be easily taken apart to add new pages any time that you need to. This is a really handy feature!
This is particularly true if your kiddos enjoy pasting things to the pages and fill up their space quickly.
What you will need:
heavy weight paper or card stock for the cover
paper for inside pages (scrap paper is fine!)
a twig (or small stick)
a rubberband (or ribbon or string)
hole punch
ruler
pencil
What you will do:

Cut your paper and card stock to the desired size. Cut your inside pages to the same size as the cover sheets. How many pages to include in your book is absolutely up to you.

Make two marks on each cover piece for hole-punching -- one towards the top and the other towards the bottom. I made marks 1/2 inch in from the vertical edge and 1 inch in from each horizontal edge.
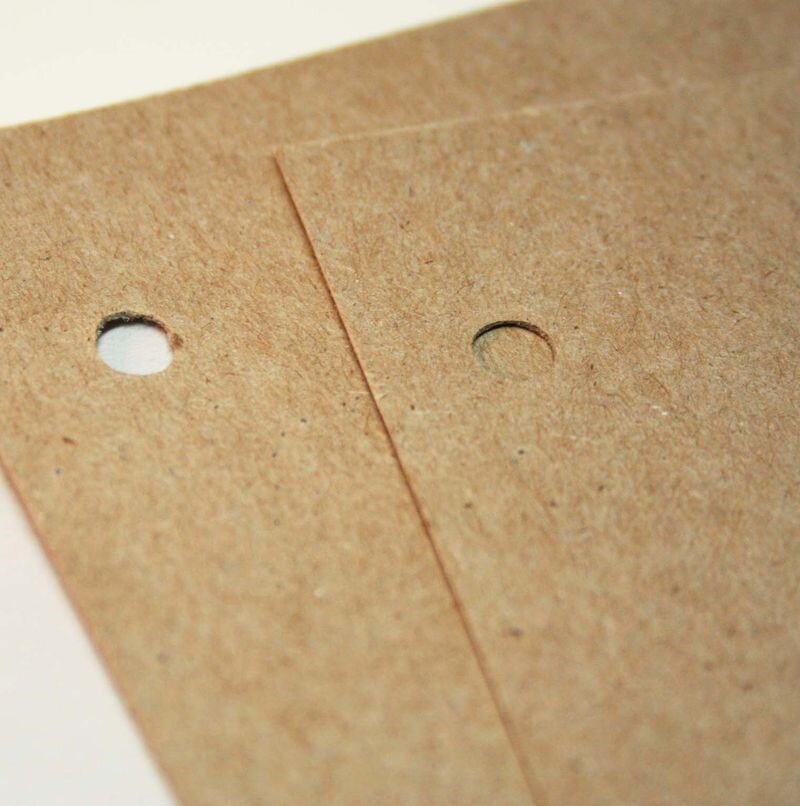
Punch a single hole at each of your marks so that you now have a hole towards the top of each cover piece and one towards the bottom. Punch holes in corresponding locations on your inside page pieces.

Find a small stick or twig that is approximately the same length as the vertical edge of your journal cover.
Stack your cover and inside pages in the order that you want them in for the finished journal, carefully lining up the holes.

Loop one end of your rubberband around the twig and pull the other end through the hole at the top of the journal.

Wrap the free end of the rubberband around the bottom end of the twig, effectively attaching the twig to the front of the journal and binding the edge of the book closed. And that’s it!
Feel free to decorate the cover, if you would like!
HAPPY JOURNALING!
Activities, text and photos excerpted from The Magnifying Glass – Annie 2011/03 blog